Followers

31 May 2013

Ali-Craft Monthly Blog Challenge # 1


Welcome to the very first monthly challenge from


On the first Saturday of each month, we will be launching a new challenge, where you can win some lovely products from the Ali-Craft website.

Our first challenge today has an 'Open' theme, so you can enter anything you wish in our challenge.  We do have a few rules to follow, so please make sure you read them below, before entering.

Our prize this month is -


Two gorgeous paper pads from

Graphic 45 - 'Secret Garden'

1 x 12x12 paper pad &

1 x 8x8 paper pad

(rrp £30.50)


Ali-Craft Blog Challenge Rules

(1) You can use any images to enter our challenge.

(2) Please also leave a comment on the blog post.

(3) You may enter the challenge UP TO 3 TIMES ONLY PLEASE and you may combine with other challenges.

(4) You MUST follow the challenge theme and NO BACKLINKING please, new cards only.

(5) Please provide a link to our blog in your post.

(6) Please leave a link (via link below) to your actual card, not just to your blog.

(7) Please turn off Word Verification on your blogs, it makes it so much easier & quicker to leave a comment on your blogs.

(8) The challenge finishes on Saturday, 29th June 2013 @ 4pm and the new challenge, will start on Saturday, 6th July 2013.

Our Design Team Ladies are as follows :

Ali & Andrea (Ali-Craft)

here are their projects for this challenge.


Challenge card by Ali


I used Dylusion spray inks for the background, then used distress ink pads stippled over a House Mask.
Stamps are from the Doo Lally Pip range - Piffy on a rock cake


Challenge card by Barbara


Stamp set is the Doo Lally Pip - Arabella

Challenge card by Andrea

Doo Lally Pip
How Much Love Stamp Set


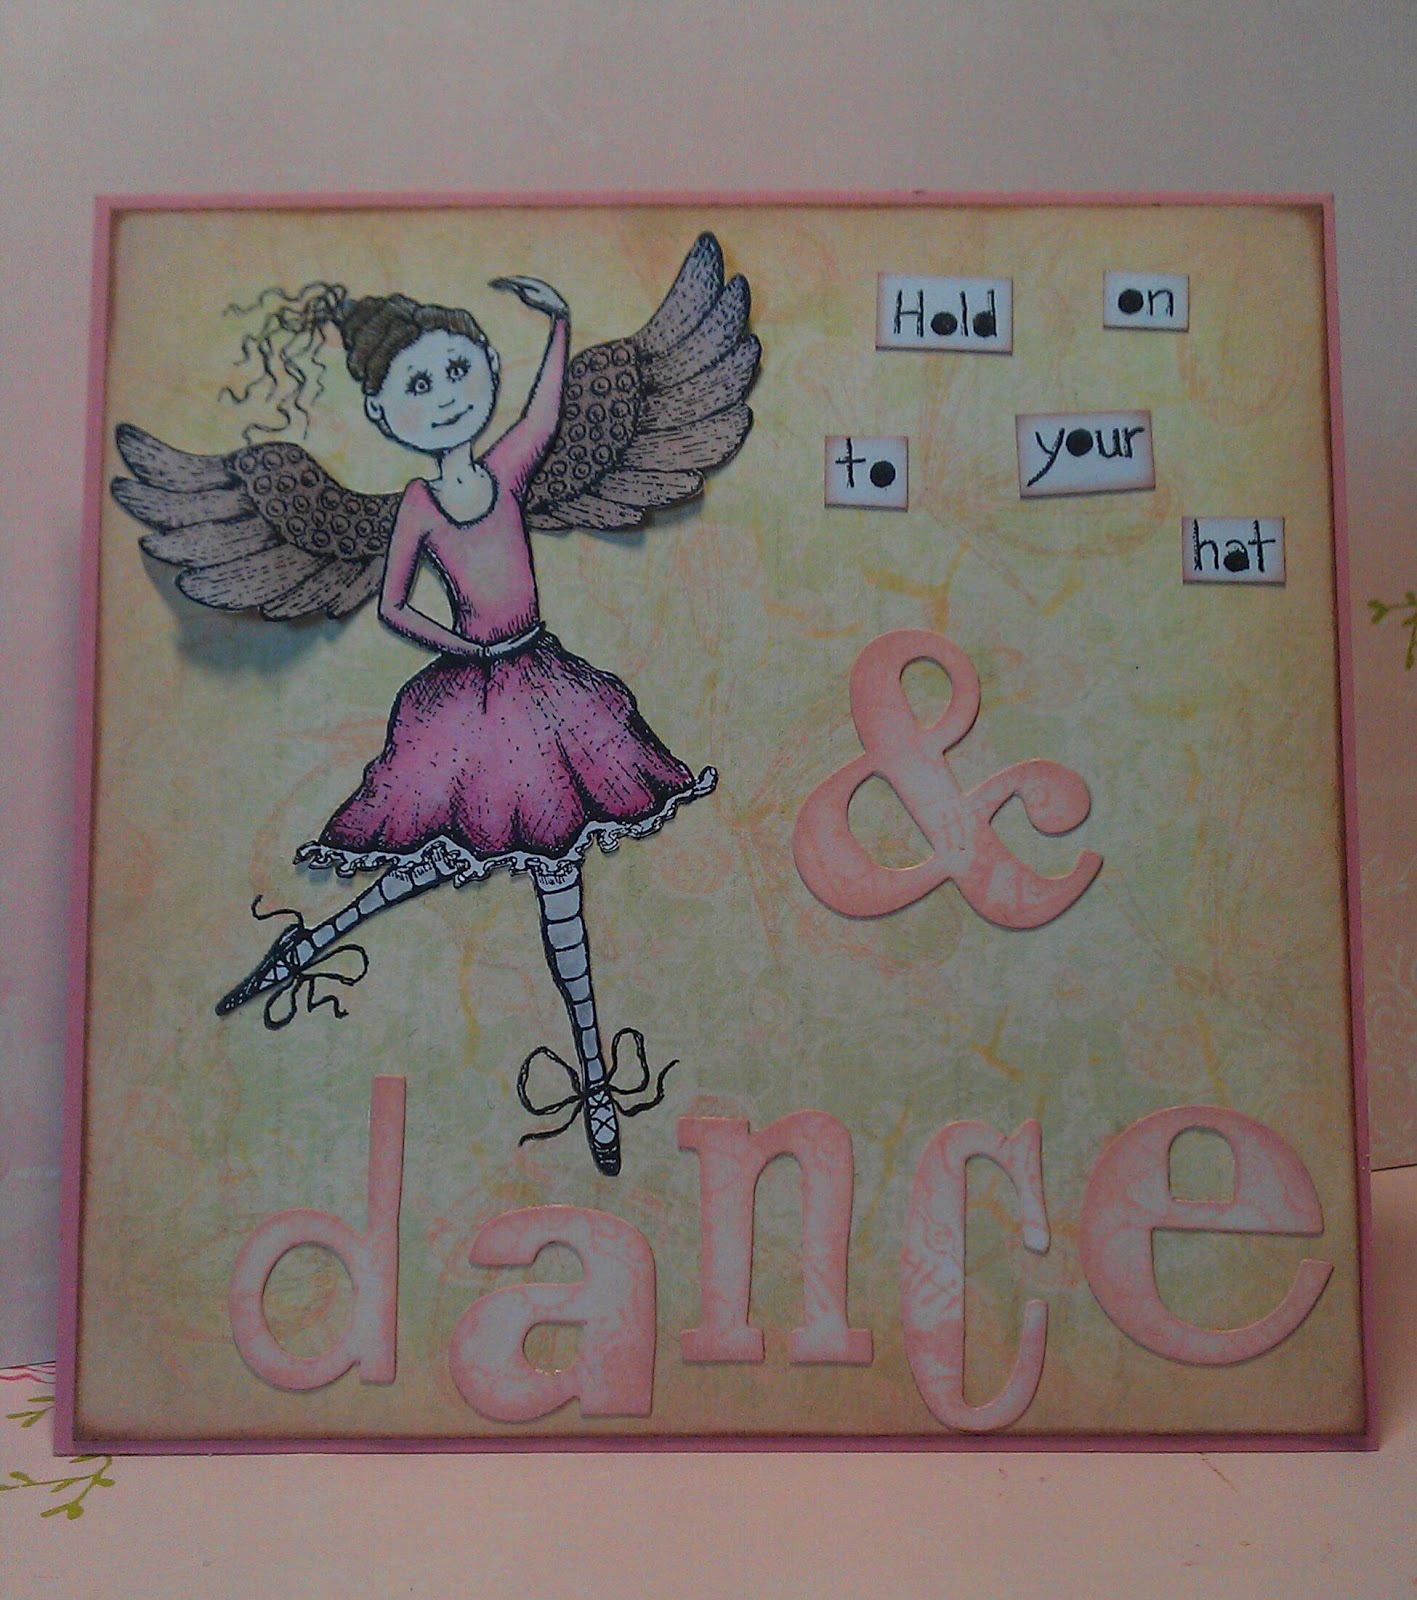
Challenge card by Clare


I've had my eye on this wonderfully vintage stamp set by Tim Holtz for a while and decided it was time to add it to my collection.  The images were stamped with black memento ink and then shaded with Denim, Red Pepper and Latte Adirondak inks for a truly vintage look.

A canvas by Heidi


A small canvas using a selection of Kaisercraft stamps including 'Life Sentiment's.


We are also having an :
Ali-Craft Design Team Call
We are also looking for two new Design Team members.  If you can commit to doing a regular blog project in rotation, design a card/project for our challenge each month and leave comments on blog entrants, please leave us a link to a sample of your work, a comment including email address.  Ali will then contact the lucky entrants.
Good luck, the team will be stopping by to view your entries.
  The challenge ends on Saturday 29th June @ 4pm.

The Ali-Craft Team

We have had a great entry from Jean :


                                                                Entry by Jan Hill

I would like to enter the challenge. This is my new granddaughter Arabella.
I started with a canvas and built up the background with masks/ texture paste and Dreamweaver pearlescent/ Fresco paint/ gesso and Dylusion inks. The chipboard are triple utee with fragments, the flowers are mixed paper and fabric, gesso and inked. I used bits of recycled packaging and Tiger stick on lace. Most of the materials have been in my stash for years! I really enjoyed the challenge but not sure how to upload pix so thought I would email it to you.
Thanks Jan Hill


by Jan Hill
My second entry to the monthly challenge, on a roll now!
I used stuff from my stash, old Kaiser raft papers fussy cut and layered. I used TH on the edge die, sticklers, glossy accents and stick on pearls. 

Thank you so much Jan for sending in these two great project for the blog challenge, you have a beautiful granddaughter x 


27 May 2013

Butterfly Wall Hanger

 
Good morning, Heidi here.  I am new to the Ali-Craft Design Team and very excited to be designing for Ali and her team.
 
I am sharing a vintage-feel 'Butterfly Wall Hanger', which I have made using three different stamp sets.
 
Here is a list of the products used :
 
Kaisercraft 'Keys' stamp
White & Kraft Cardstock (stash)
Magnolia 'Hellebores' Die (stash)
Tim Holtz 'Brushed Corduroy' ink pad
Cream lace (stash)
Brown Baker's Twine (stash)
Medium & Small Pearls (stash)
House & Butterfly templates (stash)
 
Wall Hanger Instructions :
 
(1) Cut out house and two butterfly shapes from kraft and white cardstock.
(2) Stamp randomly around the white shape and over butterfly shapes.
(3) Die-cut six 'Hellebores', stamp over and ink all edges of elements.
(4) Stamp up sentiments 'Remember ....' & 'Dream' onto white card, edge with ink pad.
(5) Matt sentiments onto kraft cardstock.
(6) Make two small holes to 'Dream' sentiment and another two to top of house shape.
(7) Thread bakers twine through top of house, tie a knot and add lace.
(8) Thread lace through 'Dream' sentiment, tie a knot with baker's twine.
(9) Add 'Hellebores' and lace knot to butterfly, add pearls.
 
Stamps used can be purchased via the Ali-Craft website, you can reach it HERE.
 
I do hope you have been inspired today, thanks for visiting the blog.
 
Heidi
 
xxx


24 May 2013


Doo Lally Pip...................

What a fab name for a rubber stamp collection, love it.


Being a member of the Design Team for Ali Craft, Ali from Ali-Crafts sent me the most scrumptious collection of stamps by Lindsay Mason to have a play with and design a card Tutorial for you all.

Here are the sets I have chosen to use today....


Emily and Steampunk Sarah by Lindsay Mason


Steamed Up by Lindsay mason


 and here is a picture of the finished card.........


I love the texture from the Grunge Paste.


Here is what you will need to complete this card;

Emily and Steampunk Sarah by Lindsay Mason  
Steamed Up By Lindsay Mason
White Card
Black Card
Distress Acrylic Paint in  Broken China, Weathered Wood, Salty Ocean and Brushed Pewter
Archival Ink in Manganese blue and Jet Black
Prima Mask Rain Drop
Grunge Paste
Dylusions Spray White Linen
Treasure Gold Silver
Tim Holtz Mixed Media Stamps
Foam Pads
Double Sided Tape
Scissors
Palette Knife
Rock Candy Dry Glitter by Ranger
Glossy Accents
Craft Mat

Step 1

Cut a piece of White card to 4 1/2 x 5 1/2. Apply random strokes of Distress paint including the metallic Pewter to a craft mat and spritz  with water, then drag your card through the paint untill you are happy with the coverage, zap with a heat gun till dry.
Don't forget to clean your Mat, as you will need it in the next step.

Step 2

Grab your grunge paste and palette knife, put a small amount on to your craft mat. Add a blob of Salty Ocean Distress paint along side and mix them together untill the two have blended.
Lay your mask on top of your painted card and with the palette knife apply through the mask in small areas. Leave to dry.

Remember to clean your mask and Palette knife before the paste sets hard!

Step 3

Take the Archival ink pad and Honeycomb stamp from the mixed media set and stamp randomly onto your card, I did not use an acrylic block to stamp, I just held the stamp in my hand as I prefer the look you get. Blast with a heat gun to dry.

Step 5

On a spare piece of white card, I Stamped "Emily" in Jet Black Archival Ink and coloured her in ( I used Prisma Pencils, but you could use distress paints watered down). I also used the Top Hat from "Steamed up" once again I coloured it in using my Prisma Pencils, I then applied Glossy accents to the heart and sprinkled some Dry Rock Candy Glitter and left to dry.

Step 6


Using a pair of fine pointed scissors I fussy cut Emily and the Hat out from the card, applied Foam pads to the back of each piece and adhered them onto the left hand side. I then inked up the verse from Emily and Steam Punk Sarah in Archival Jet Black and stamped on to the right hand side, where there was a clear space.

Step 7

Take your Treasure Gold Silver and apply it around the edges of your card, I also applied it to some of the raindrops to highlight them, leave it for a few minutes and then you can buff it gently, this will give the wax a nice shine.

Take your Black card and cut it to 4 5/8 x 5 5/8 place Tape onto the back of your decorated card and adhere to the piece of Black card you have just cut. You can then mount this panel onto a card Blank.


I do hope you enjoyed this Tutorial, all of the products listed are available from Ali-Crafts.


Happy Crafting


Barbara x

22 May 2013

Ali - Trying to Tidy Craft Room

Think this is going to take awhile, bit of a mess to say the least!!


                                                Not sure were i am going to put it all


Starting to get somewhere !!!


Didn't know i had so much


                                                   Still a long way to go.
                       Will be able to find some room to do a bit of crafting now xx

21 May 2013

Embroidery Hoop and Graphic45 Ladies Diary papers

Andrea has put together a great project using an Embroidery Hoop and the Graphic45 Ladies Diary Papers.
Finished with embellishments from Prima and Glossy Accents


16 May 2013

ARTISTIC OUTPOST STEAMPUNK STAMP SET BY CLARE CHARVILL

First blog post by Clare Charvill/
Design member for Ali-Craft
You can pop over to Clare's blog by clicking on the blog button on the right, My Creative Spirit

I got out some of the fab Artisitc Outpost stamps, now in at Ali Craft and some distress inks and this is what emerged lol!!!  I'm now covered in green pine needles distress ink that won't come off lol!!!!! 


Artistic Outpost - Stempunk
Supplies Used 

White smooth card
Tags and bookplate die - Alterations
Artistic Outpost Stamp Collection - Steampunk
Distress Inks - Pine Needles, Tea Dye and Rusty Hinge
Black Versafine ink 
Distress Ink Pens, Black Soot, Tea Dye and Pine Needles
Vintage Seam Binding
IndigoBlu background Stamps Script and Crackleglaze 

Happy crafting everyone :-)

14 May 2013

Up cycle T-shirt

Hi all,
        Well where has all the sun gone?! Although we no longer have the shop we have been very busy here, Ali has some great new stamps in and she has been busy getting some great new stock. I am sure you will all love it at the shows and on the website so pop over and have a look. I have been getting the workshop things ready for the class this week at the community centre at Ruskington, we are doing monthly workshops there so if you fancy doing any of them pop over to the website and have a look. So in between all that I have joined the gym to help my knee, it is working great, so after a year of hell from it I am finally on the mend! So for that I needed some t-shirts and I love racer back tops. Stu (hubby) had a cool band T shirt that had maybe been put in the drier a little too often either that or too much pizza!! (he is sticking with the drier option!) So here is a step by step of what I did, took no time at all.

 Firstly get a T shirt modelled here by Stu


Lay the T-shirt on a flat surface and cut off the collar band
   

 With tailors chalk or a pen draw on a lower neckline, the pattern will let you go lower or higher.  

 Cut the lined area out
   

 Next cut off the sleeves
   

 Now sleeveless
   

 Draw in on each sleeve to make it look more feminine (do on each sleeve)  

 With one sleeve cut like shown below 
 

 Then cut as below to create a straight piece
   

 With the straight piece, you need to fold and pin
   

 Hold the back of the T-shirt to create the racer back, on this you will be adding the folded, sew strip  

 Then sew keeping it in place on the T-shirt to get the correct length sewn  

 Cut the excess off and fold the added sewn part the right way round so the outer ring/ back is smooth and all sewn parts are hidden. Then you have done it is so simple with great results!!!  TADA!!! 


 Hope you all like and a few of you have a go, I will be making a few more! Love and Bugs Andrea xxx

7 May 2013

Linda has shared her Graphic45 canvas with us Using papers from the Graphic45 range pop over to her blog to see more of her work lindasimpsoncraftypieceofheaven.blogspot.co.uk

5 May 2013

Graphic45 are excited about their new Photo Freedom collaboration with Echo Park Paper We now have these on Pre-order on our website on a special discount price available until they are shipped www.ali-craft.co.uk Other kits are also available, and will be put onto website this weekend